Homemade Soft Peanut Butter Cookies25 mins
When that specific craving for something salty and sweet hits, nothing satisfies quite like a batch of these classic cookies. They are tender, rich, and have that unmistakable depth of flavor that makes you reach for a second one immediately.
Why Peanut Butter Cookies Rule My Kitchen
Let’s have a real talk about Peanut Butter Cookies. Some people think they are just a side character in the cookie world, but honestly? They are the main event. When you get the balance right—that perfect marriage of salty, nutty goodness and a tender, melt-in-your-mouth crumb—you don’t need anything else. I’ve spent way too many late nights tinkering with flour ratios and sugar types just to get that signature cross-hatch pattern on top to look perfect. It isn’t just about the look; it’s about the soul of the cookie.
The Technical Side of the Dough
Before we even touch a whisk, we need to talk ingredients. You want a standard, commercial creamy peanut butter here. I know, I know—the natural stuff is great on toast, but for Peanut Butter Cookies, the stabilizers in commercial brands (like Jif or Skippy) ensure that the oil doesn’t separate during the baking process. If your dough is too oily, your cookies will spread into sad, thin pancakes. We want structure, people!
If you love experimenting with dough textures, these treats are a great foundation. For those days when you want something slightly more decadent, our best ever chocolate chip cookies recipe offers a masterclass in crisp edges, while a chewy date cookies recipe brings an entirely different dimension of natural sweetness that pairs wonderfully with a cup of strong coffee.
Creaming: The Most Important Step
Do not—I repeat, do not—skip the creaming step. When you beat your softened butter with the sugars, you are creating an aerated base. This is the “scaffolding” of your cookie. You want to see the mixture turn pale and fluffy. This allows your Peanut Butter Cookies to rise properly rather than being dense and heavy. Take your time here. If you’re bored, listen to a podcast, but keep that mixer going!
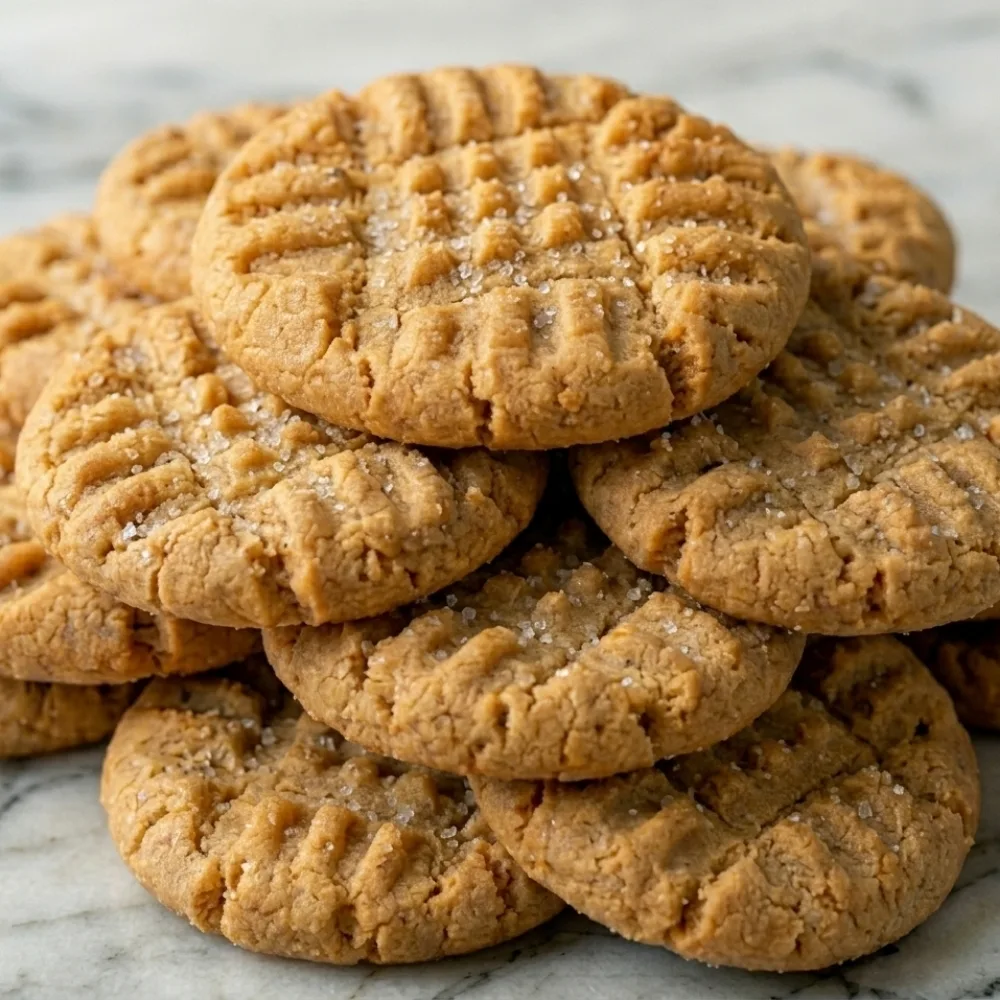
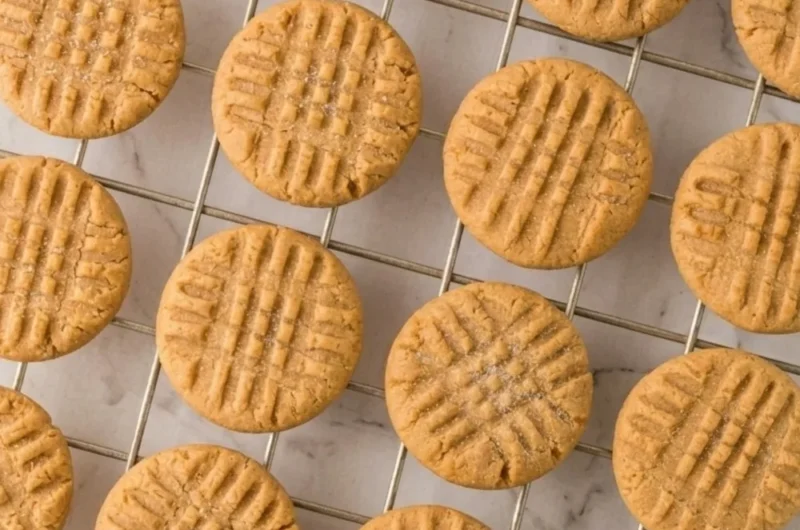
Achieving the Perfect Cross-Hatch
The iconic criss-cross pattern on Peanut Butter Cookies isn’t just for show. Because this dough is denser than a typical sugar cookie, the fork marks actually help the cookie flatten evenly and bake at a consistent speed. Use a fork dipped in a little bit of granulated sugar to prevent it from sticking to the dough. It’s a simple splash of technique that elevates the final product.
Step-by-Step Execution
- Step 1Master the Creaming
Combine butter, brown sugar, and granulated sugar. Beat until the texture is light and airy. This provides the structure for your Peanut Butter Cookies to shine.
- Step 2Add the Star Ingredient
Fold in your creamy peanut butter and egg. Mix until just combined. Don’t over-work the dough at this stage, or you’ll develop too much gluten and end up with tough cookies.
- Step 3The Dry Mix
Gently incorporate your flour, baking soda, and salt. Use a folding motion if you can; it keeps the dough tender and prevents that “rubbery” texture.
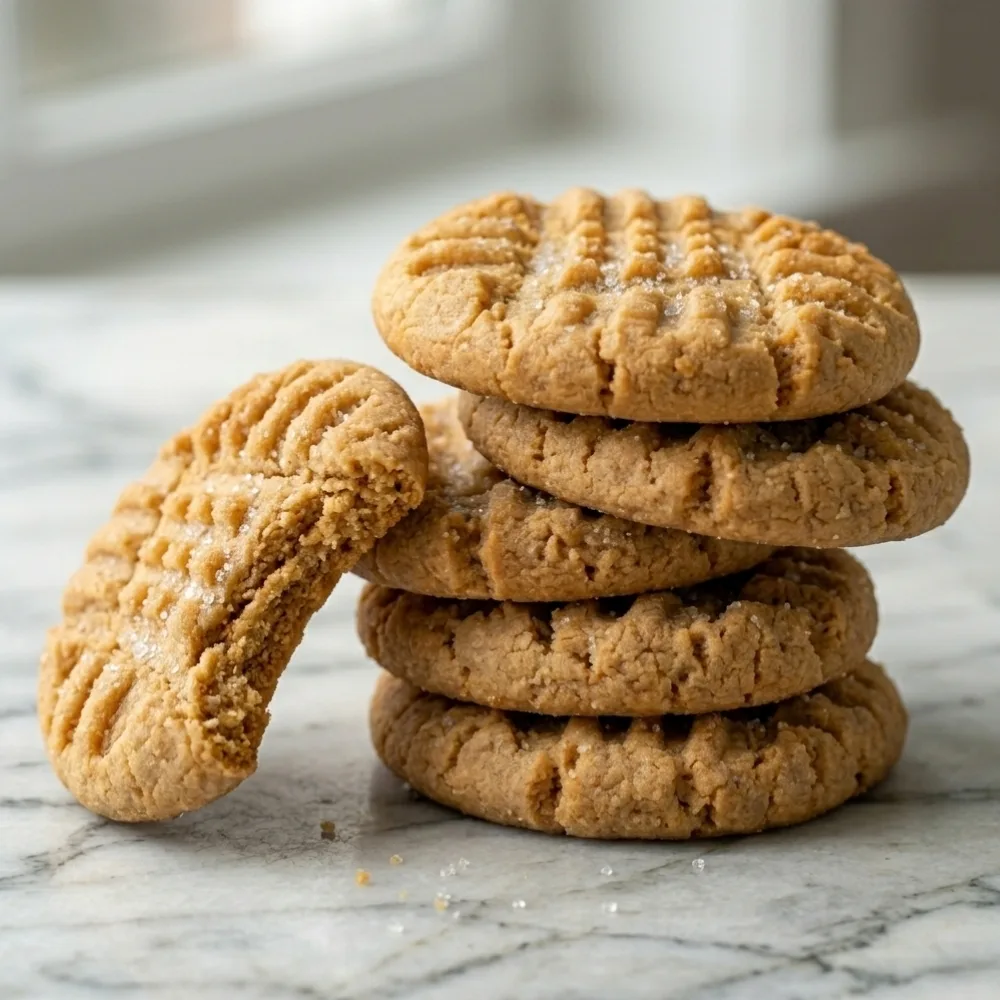
- Step 4Shape and Press
Roll the dough into uniform balls. Use your fork to press that classic pattern into the top. It’s almost like a little culinary signature!
Troubleshooting Common Cookie Calamities
This usually happens if your butter was too warm or your oven temp is too low. Try chilling your dough balls for 15 minutes before baking. It’s a total game-changer for Peanut Butter Cookies.
They should look slightly underdone in the center. The edges should be just starting to set and turn a light golden brown. Pull them out then—the carry-over heat will finish the job on the hot pan.
Absolutely! I often fold in some semi-sweet chocolate chunks. If you like mixing styles, check out our chocolate and vanilla cookies recipe for more inspiration on combining distinct flavor profiles.
Professional Serving and Storage
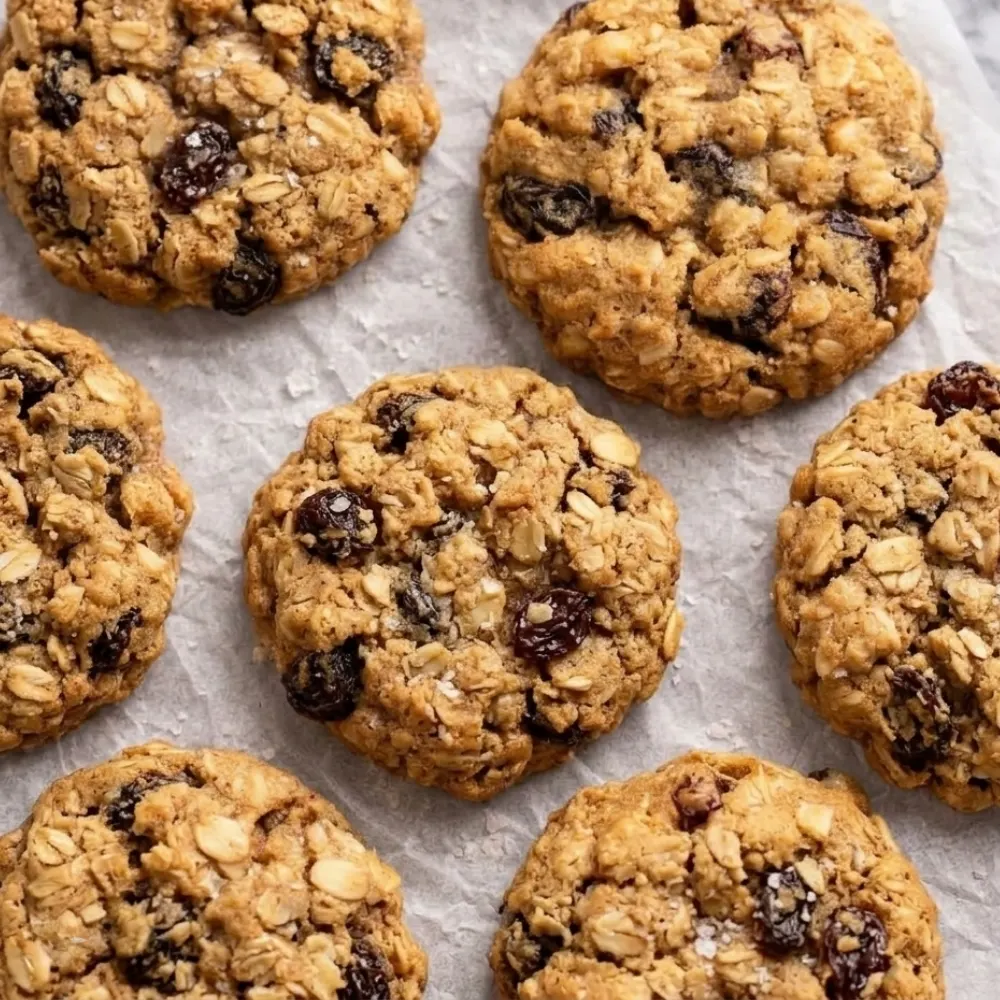
When you have a fresh tray of these, serve them with a cold glass of milk—it sounds cliché for a reason! The fat in the milk cuts through the richness of the peanut butter perfectly. If you are a fan of variety, consider serving them alongside an oatmeal raisin cookies recipe to offer a range of textures to your guests. Store any leftovers in an airtight container at room temperature; they stay soft for about 3-4 days if you keep the air out.
Final Thoughts from the Kitchen
Baking Peanut Butter Cookies should be an enjoyable ritual, not a stressful chore. If your first batch isn’t perfect, take a breath, check your oven temperature, and try again. Every pastry chef you admire has had a tray of “oops” cookies. It’s all part of the journey. Once you get these down, you’ll be the person everyone asks to bring dessert to the party. And let me tell you, that is a pretty great feeling. So, roll up your sleeves, grab your favorite mixing bowl, and let’s get those cookies in the oven!
Seriously, there is nothing like that smell of toasted peanuts filling the house. It’s the ultimate comfort scent. Don’t be afraid to experiment with a little sea salt on top right when they come out of the oven. That little extra hit of salinity really makes the peanut butter flavor pop in a way that will have your friends begging for your secret. Enjoy the process!
Homemade Soft Peanut Butter Cookies
Course: DessertsCuisine: American24
servings15
minutes10
minutes25
minutesA classic, tender cookie featuring a rich peanut flavor and a soft, melt-in-your-mouth crumb. These treats are simple to bake and offer the perfect balance of salty and sweet in every bite.
Ingredients
1/2 cup (113g) Unsalted butter, softened
1/2 cup (125g) Creamy peanut butter
1/2 cup (100g) Granulated sugar
1/2 cup (110g) Packed light brown sugar
1 large egg
1 tsp (5ml) Vanilla extract
1 1/4 cups (160g) All-purpose flour
1/2 tsp (2.5g) Baking soda
1/4 tsp (1.5g) Salt
Directions
- Preheat & Prep: Preheat your oven to 350°F (175°C). Line a large baking sheet with parchment paper.
- Creaming: In a large bowl, beat the butter, peanut butter, granulated sugar, and brown sugar until light and fluffy.
- Liquids: Add the egg and vanilla extract, beating until fully combined.
- Dry Ingredients: Whisk the flour, baking soda, and salt in a separate small bowl. Gradually add to the wet mixture, stirring until a dough forms.
- Shape: Scoop dough into 1-inch balls and place them on the prepared baking sheet.
- Criss-Cross: Press each ball down with the back of a fork in a criss-cross pattern.
- Bake: Bake for 10-12 minutes or until the edges are lightly golden. Let them cool on the pan for 5 minutes before moving to a wire rack.
Notes
- The “Chill” Secret: While this salad can be served immediately, letting it rest in the refrigerator for 30 minutes is the secret to a professional texture. It allows the fruit’s natural sugars to soften and the dressing to set into a velvety coating.
- Serving Advice: If you are serving this at an outdoor gathering, place your serving bowl inside a larger bowl filled with ice. This keeps the dairy base at a safe, pleasant temperature and prevents the fruit from breaking down as it warms up.
- Storage Reality: This dish is at its peak when enjoyed fresh. Because of the delicate cellular structure of fresh fruit, the salad is best consumed within 24 hours. For the best experience, store the fruit and dressing separately and fold them together just before serving.
- Customization: Feel free to swap the fruits based on what is in season. If you add high-moisture fruits like watermelon, be sure to pat them extra dry, or consider using them as a garnish rather than a main component to maintain the creaminess of the dressing.