Amazing Soft Red Velvet Cookies Recipe27 mins
A comprehensive guide to baking soft, vibrant chocolate cookies with a rich hint of vanilla and a perfectly chewy texture.
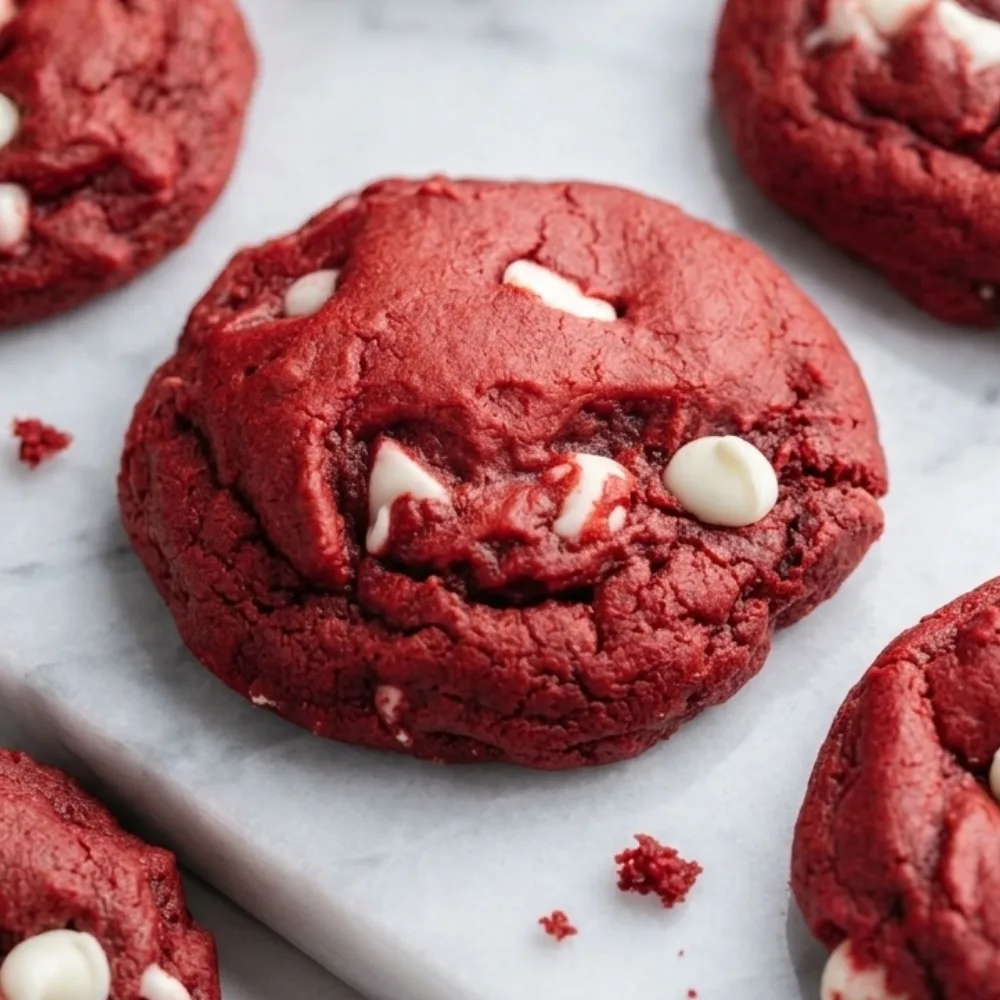
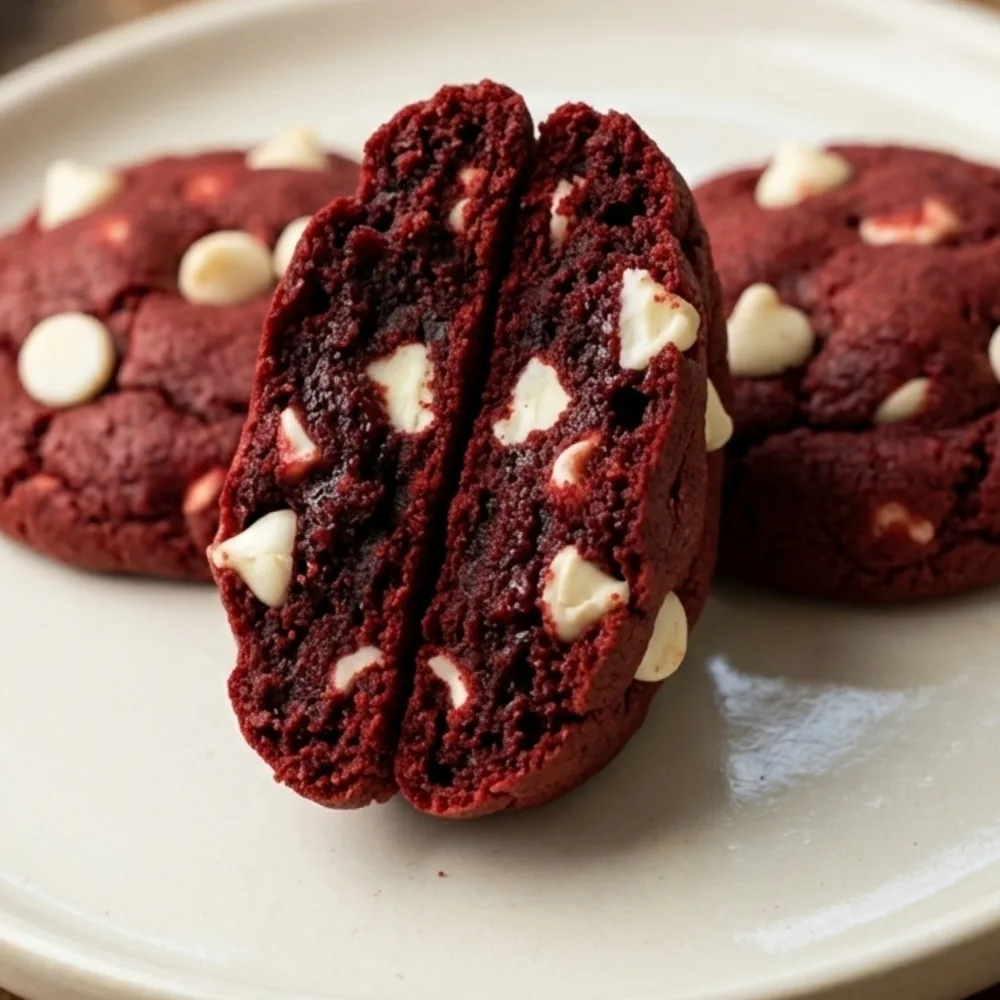
This straightforward red velvet cookies recipe delivers a soft, dense chocolate-infused sugar cookie with a beautifully vibrant, deep crimson appearance. By keeping the dry cocoa ratio completely balanced, the dough retains a perfectly pillowy and moist texture that makes it an immediate standout on your dessert table.
Mastering the Unique Crumb of This Red Velvet Cookies Recipe
Bakers often ask how to achieve that signature melting texture that defines authentic velvet treats. When you cream high-quality unsalted butter with sugar and introduce a tiny, precise amount of cocoa powder, you break down the gluten structures slightly to build an incredibly tender crumb profile.
If you love serving soft, fruit-forward varieties alongside your deep chocolate treats, you should also take a look at our vibrant easy strawberry lemon cookies recipe or try the refreshing profile of our fresh lemon raspberry cookies recipe to brighten up your weekend party platter.
The Golden Timing Rule for Red Velvet Cookies Recipe Success
The most common pitfall when assembling colorful chocolate doughs is leaving the sheet inside the oven for just a few minutes too long. Because cocoa colors hide the golden browning process, you must rely entirely on surface textures to guide your timing. For a deeper understanding of clean citrus bases without cocoa components, you can also explore our traditional soft lemon cookies recipe to master fundamental dough expansion.
Ingredients for Your Red Velvet Cookies Recipe
The ingredient list for this premium dessert blends simple everyday baking staples with rich color elements to build a striking visual contrast. If you enjoy experimenting with distinct natural fruit sugars and deep, rich profiles, you might also like to read through our unique chewydate cookies recipe for another deep, flavorful twist.
- Butter: Use 1/2 cup/approx. 115g of softened unsalted butter to establish a rich, tender base.
- Sugar: You need 1 cup/approx. 200g of white granulated sugar to preserve core moisture cleanly.
- Egg: Use 1 large room-temperature egg to bind the fats and structural elements smoothly.
- Cocoa Powder: Measure 2 tablespoons/approx. 15g of unsweetened cocoa powder for a subtle chocolate note.
- Gel Color: Use 1 teaspoon of high-grade red gel food coloring to ensure a deep crimson finish.
- Flour: Measure 2 cups/approx. 250g of all-purpose flour to hold the shape uniform during baking.
- Baking Powder: Use 1/2 teaspoon/approx. 2g to create a soft, pillowy rise inside the oven.
Technical Steps for This Red Velvet Cookies Recipe
- Step 1Cream the Base Elements
Preheat your baking oven to 350°F/approx. 175°C and line a large baking sheet with clean parchment paper. In a large bowl, beat your softened unsalted butter and white granulated sugar together for three full minutes until the mixture turns light, fluffy, and smooth.
- Step 2Infuse Color and Aromas
Add the room-temperature egg, pure vanilla extract, and your red gel food coloring directly into the creamed butter. Beat on a medium speed until the color is entirely uniform and the wet mixture shows a brilliant, glossy red appearance throughout.
- Step 3Integrate the Dry Ingredients and Bake Your Red Velvet Cookies Recipe
Sift your all-purpose flour, unsweetened cocoa powder, baking powder, and a pinch of fine salt together in a separate container. Gradually fold these dry elements into your vibrant red base using a soft spatula, mixing just until the flour streaks disappear and a soft, workable cookie dough forms.
Managing thermal insulation and air currents inside your baking environment is an absolute necessity when handling this delicate red velvet cookies recipe. Selecting a heavy, light-colored aluminum baking pan ensures that heat is absorbed and radiated evenly across the bottom surface of each dough round. Dark or thin sheet pans absorb radiant heat too quickly, which frequently burns the delicate base of the cookie before the interior starches have properly set. Lining the baking surface with professional kitchen parchment paper or a high-quality silicone mat provides a vital thermal barrier. This small layer of protection guarantees a smooth, even bake from the outer edges directly into the core, facilitating a clean release without requiring heavy non-stick oils that could ruin the shape of your cookies.
When you begin shaping the dough rounds for this red velvet cookies recipe, using a calibrated mechanical cookie scoop ensures that every piece contains the exact same mass. Uniformity in portioning means that every cookie on the baking tray will reach perfection at the precise same moment. If dough balls are shaped unevenly by hand, smaller portions will dry out and turn hard while larger mounds remain heavy and under-baked in the center. Space your shaped dough portions at least two inches apart on the sheet to allow hot air to move freely around each cookie. This proper spacing creates a gorgeous, uniform outer crust while preserving a delicate, velvet-smooth interior crumb.

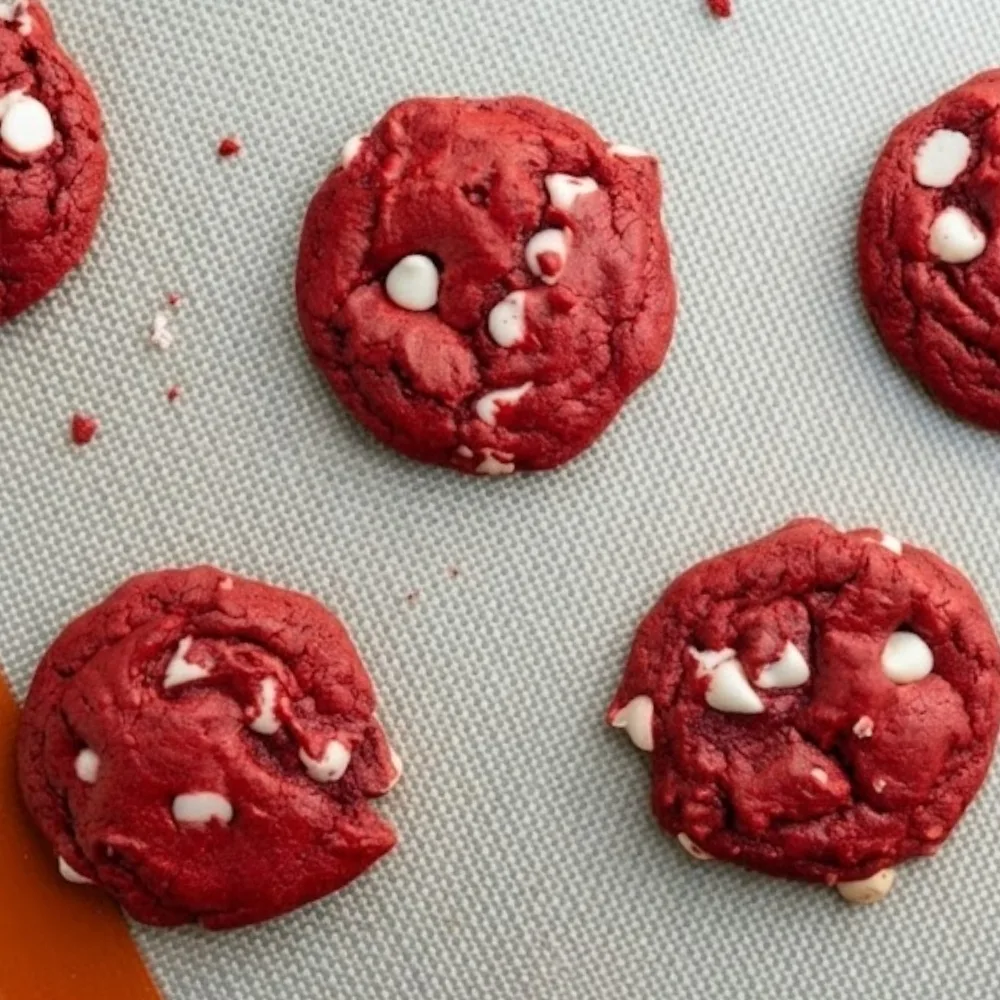
Visual monitoring through your oven window is critical during the final minutes of baking this red velvet cookies recipe. Because the dark crimson gel and cocoa powder mask the traditional golden-brown indicators of a finished sugar cookie, you must assess the surface structure closely. Look for the outer rim of the cookie to appear matte, stable, and completely dry, while the very center should still show a tiny bit of gloss and soft movement. Removing the sheet from the hot rack while the core is delicate keeps the moisture trapped inside. If you wait until the center is entirely firm to the touch, the cookie will turn dry and crumbly as it cools down on your counter.
Allowing your freshly baked red velvet cookies recipe rounds to sit undisturbed on the hot pan for five full minutes completes the delicate cooking phase safely. Hot cookies are incredibly fragile and will break apart instantly if moved too soon. This brief rest allows the internal starches to firm up gradually before you transfer them onto a wire cooling rack. Use a thin metal spatula to lift each piece carefully, arranging them in a single layer to cool to room temperature. This open-air setup prevents steam from building up underneath the cookies, keeping the bottom crust perfectly light rather than soft or soggy.
If you want to practice your dough timing skills with a classic sweet that relies on a similar soft butter core but skips the cocoa powder alterations, try our traditional best ever chocolate chip cookies recipe to enhance your baseline baking techniques. Alternatively, if you prefer deep fruit notes balanced with subtle nut aromas over a rich chocolate dough, look over our best ever almond cherry cookies recipe to add a gorgeous variety of textures to your home dessert display.
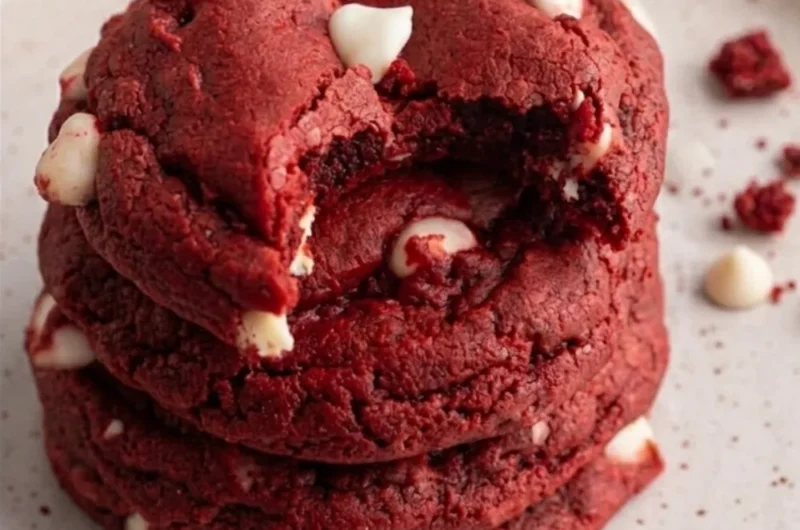
Ultimately, respecting the cooling steps, using reliable measuring tools, and monitoring the texture changes inside your oven gives you absolute confidence when executing this recipe. The spectacular contrast of a rich, crimson crumb and a deep vanilla-cocoa aroma is what makes this treat an enduring favorite. Your meticulous attention to detail will be rewarded the moment you serve a fresh platter of these red velvet cookies recipe sweets, revealing an incredibly dense, soft treat that delights everyone at your table.
- Step 4Shape and Bake
Scoop the colorful dough into uniform rounds using a standard kitchen scoop and arrange them neatly on your prepared baking pan. Bake for ten to twelve minutes until the outer surfaces are set, then let them cool quietly on the hot pan for five minutes before moving them to a cooling wires rack.
Troubleshooting Your Red Velvet Cookies Recipe
This usually happens if your unsalted butter was completely melted into liquid rather than softened, or if your oven temperature is running too low. Try chilling your shaped dough rounds for fifteen minutes before baking to lock the shape.
Always use a premium gel-based food coloring rather than liquid dye. Sifting your cocoa powder correctly ensures it mixes smoothly into the flour without darkening the red hue into a dull brown tone.
Amazing Soft Red Velvet Cookies Recipe
Course: DessertsCuisine: American16
Cookies15
minutes12
minutes27
minutesThis beautiful red velvet cookies recipe combines a rich vanilla-cocoa dough foundation with a dense, perfectly chewy bakery texture.
Ingredients
1/2 cup (approx. 115g) unsalted butter, softened
1 cup (approx. 200g) granulated white sugar
1 large egg, room temperature
1 teaspoon pure vanilla extract
1 teaspoon concentrated red gel food coloring
2 cups (approx. 250g) all-purpose flour
2 tablespoons (approx. 15g) unsweetened cocoa powder
1/2 teaspoon baking powder
1/4 teaspoon fine sea salt
Directions
- Line a large aluminum baking sheet with fresh parchment paper and preheat your oven to 350°F (175°C).
- In a large bowl, combine the softened unsalted butter and white granulated sugar. Cream with an electric mixer on medium-high speed for 3 full minutes until fluffy.
- Add the room-temperature egg, pure vanilla extract, and red gel food coloring into the butter mixture, beating until the color is vibrant and uniform.
- In a separate container, whisk together the all-purpose flour, unsweetened cocoa powder, baking powder, and fine sea salt.
- Slowly add the dry ingredient mixture to the wet base, mixing gently with a spatula just until the flour streaks disappear into a soft red dough.
- Use a standard cookie scoop to shape the dough into 16 uniform balls and place them on your prepared baking sheet, leaving 2 inches of space between them.
- Bake on the center rack for 10 to 12 minutes. The outer edges should appear completely matte and dry, while the centers remain slightly soft.
- Remove from the oven and let the cookies rest undisturbed on the hot pan for 5 minutes to complete their residual cooking.
- Gently transfer the fragile cookies using a thin spatula onto a wire rack to cool completely to room temperature before serving.
Notes
- Color Tip: Avoid using liquid food dyes, as they lack the strength of gel coloring and will add unnecessary moisture to the dough.
- Texture Control: Do not over-bake; the cookies should look underdone in the center when pulled from the oven to maintain their signature chewiness.