Easy Banana Pudding Cheesecake Recipe1h20min
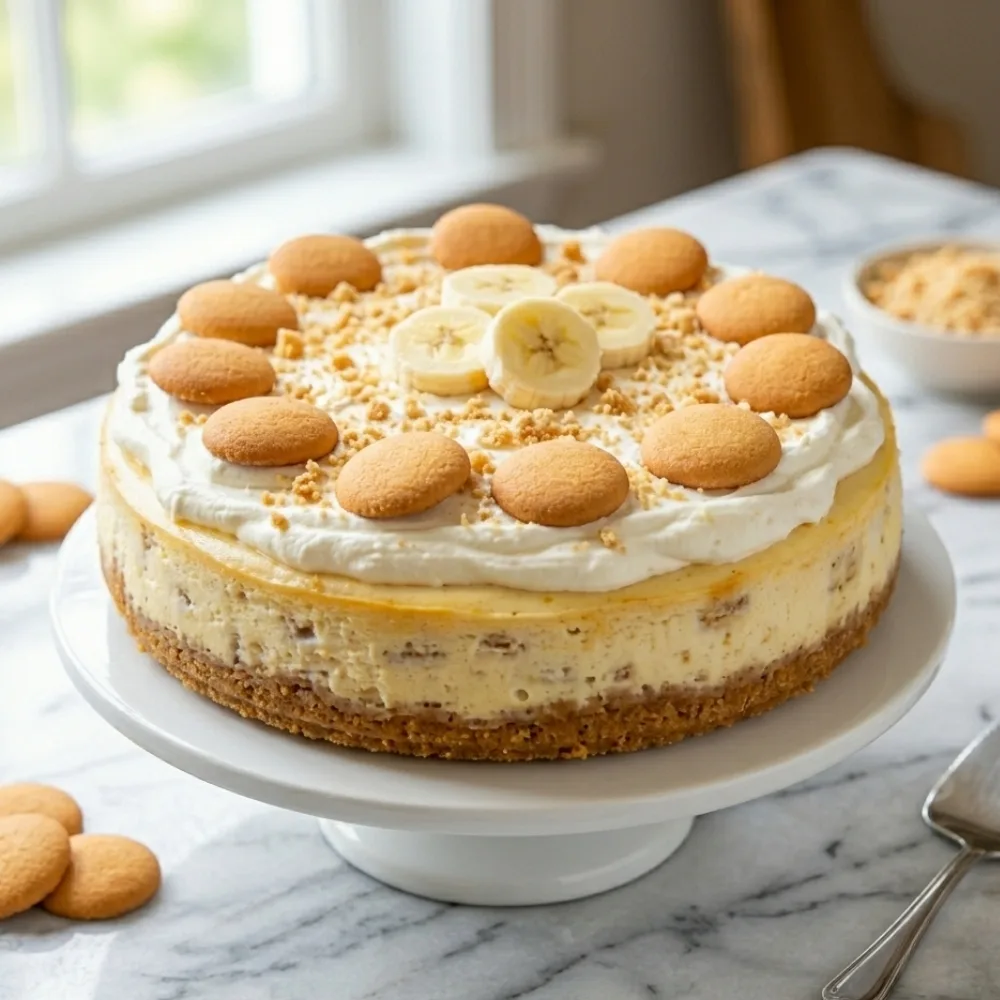
Imagine combining the creamy, comforting nostalgia of classic banana pudding with the rich, velvety structure of a dense cheesecake. This dessert brings those two favorites together into one show-stopping, layered experience that is honestly hard to resist.
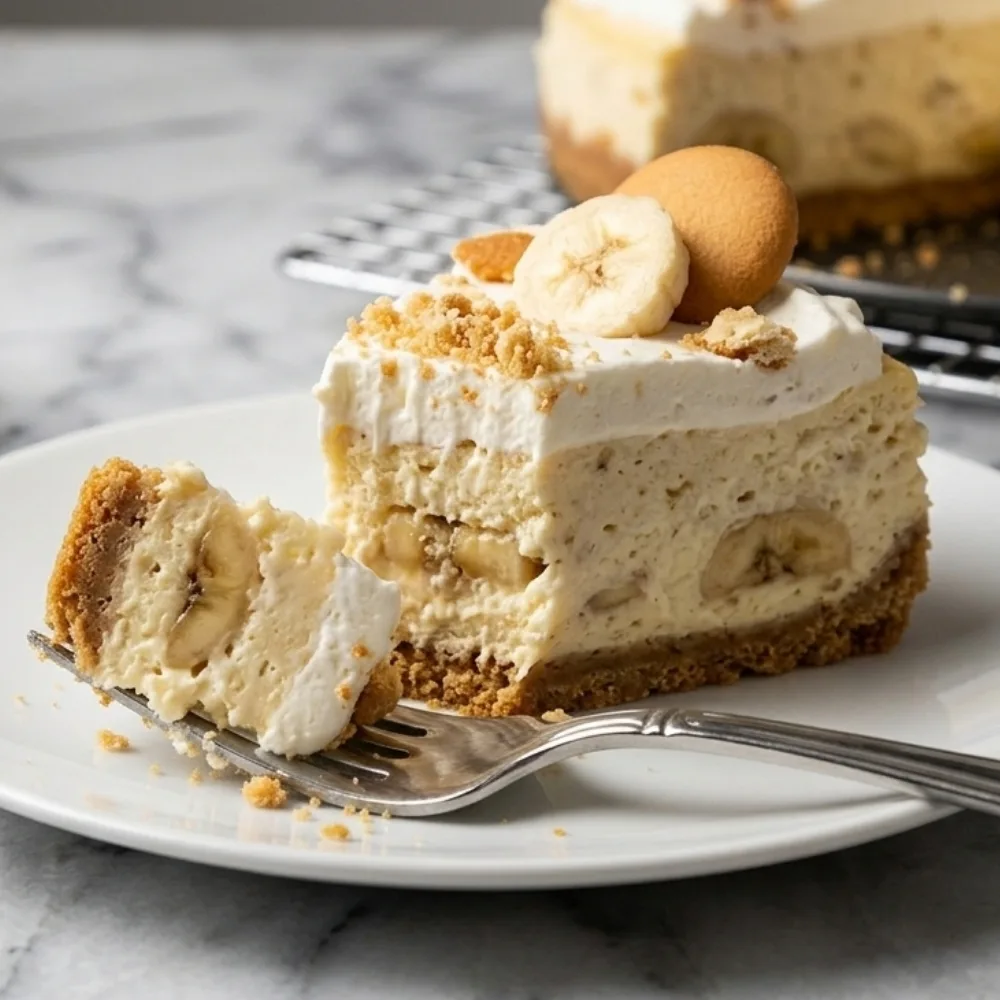
Diving Into the Banana Pudding Cheesecake Experience
Let’s have a heart-to-heart about dessert. You know those days when you can’t decide between a classic fruit-filled treat and a rich, decadent cake? I’ve been there, staring at the pantry like it holds the answers to life’s greatest mysteries. That’s exactly how this banana pudding cheesecake concept was born. It’s not just a cake; it’s a full-on experience that takes everything you love about those layered Southern puddings and gives them a sophisticated, creamy upgrade. If you’re a fan of mixing textures, get ready to fall in love.
The Structural Mechanics of a Great Cheesecake
Why do we stress over water baths and room-temperature ingredients? Because baking is chemistry! When you are making a banana pudding cheesecake, you are dealing with fats, proteins, and sugars that need to form a cohesive network. If you rush it, you end up with cracks, soggy crusts, or worse—a curdled center. We don’t want that. We want silkiness.
If you enjoy this kind of precision baking, you might find my other experiments just as fun. I love the crunch of the base in my biscoff cheesecake recipe, and if you’re watching your intake but still need that sweet fix, the cottage cheese cheesecake recipe is a total lifesaver. Baking is really about understanding your tools and ingredients, so never be afraid to play around with these bases.
Selecting Your Banana Variables
Not all bananas are created equal. For this banana pudding cheesecake, you want bananas that are perfectly ripe—yellow with just a few small brown spots. If they are too green, you get no flavor. If they are too mushy, you introduce too much excess liquid, which risks turning your cheesecake base into a swamp. A little splash of lemon juice when you slice them helps prevent oxidation, keeping those banana slices looking vibrant inside your cake.
Step-by-Step Culinary Breakdown
- Step 1The Foundation
We start with a classic crumb crust. Pulse your wafers or graham crackers into a fine dust, mix with melted butter, and press firmly. This is your structural support for the entire banana pudding cheesecake.
- Step 2The Creamy Matrix
Beat your cream cheese and sugar until it’s perfectly smooth. Add eggs one at a time, and I mean it—do not dump them all in! Low speed is your friend here to avoid adding too much air.
- Step 3Layering the Magic
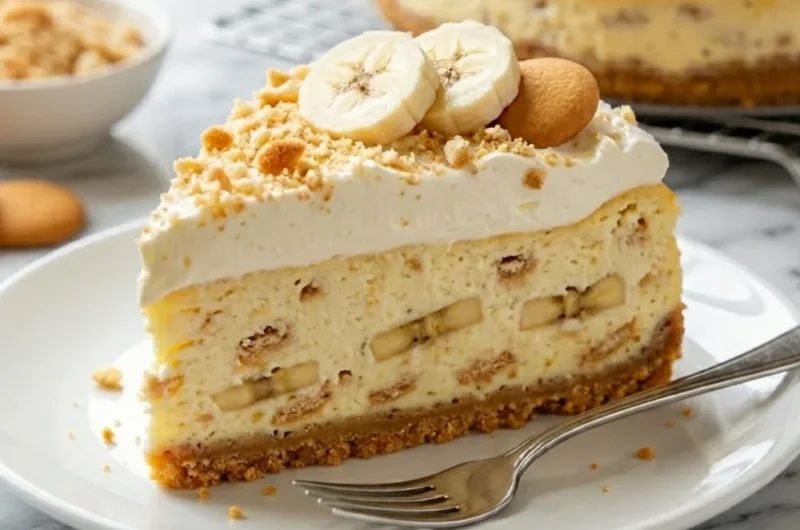
Gently layer your sliced bananas and the cheesecake batter. The goal is to keep the fruit suspended rather than mashed, maintaining that beautiful interior look.
- Step 4The Long Chill
After it bakes and cools, it needs time in the fridge. Overnight is best. It’s hard to wait, but the chemistry needs that time to firm up the proteins and sugars.
Troubleshooting Your Dessert
Usually, this is a result of over-mixing (too much air) or taking it out of the oven too fast. Let it cool in the oven with the door propped open for an hour. It’s a slow-and-steady game!
Oh, absolutely. In fact, I highly recommend it. Freshly whipped cream mirrors the classic pudding experience perfectly. Just add it right before you serve so it stays light and fluffy.
If you like a bit of fruit-based tang, you might enjoy how I handled the layers in my creamy mango cheesecake recipe. The technique is very similar and works beautifully with different seasonal fruits.
Professional Serving Protocols
When you finally unveil your banana pudding cheesecake, keep a hot knife handy. Dip the blade in warm water and wipe it clean between every single slice. This ensures those clean, professional edges that look so good on a plate. If you want to impress your friends or family, add a fresh wafer on top right before serving. It brings back that childhood memory while keeping things classy and refined.
And let’s talk about balance—this is a rich dessert. Serving smaller, elegant slices with a side of fresh berries or a drizzle of caramel can really break up the intensity. For those who want something a bit different but just as fun, the strawberry pretzel dessert recipe provides that same great blend of salty and sweet that makes the banana pudding cheesecake so popular.
A Final Encouragement
Look, I know cheesecake can feel intimidating. It’s got a reputation for being the “boss fight” of baking. But honestly? It’s just logic. If you follow the steps, respect the temperature, and give it the time it needs to set, you will succeed. Don’t get discouraged if your first attempt isn’t a magazine-cover slice. It’s still going to taste incredible. That’s the beauty of baking—even your “mistakes” are usually delicious enough to make everyone happy.
Keep your kitchen clean, keep your ingredients at the right temperature, and most importantly, have a little fun with it. Put on some music, pour yourself a drink, and enjoy the process of turning simple items into something special. You’ve totally got this!
Easy Banana Pudding Cheesecake Recipe
Course: DessertsCuisine: American12
servings20
minutes1
hour1
hour20
minutesA lush, velvet-textured dessert merging the comfort of banana pudding with the tang of cheesecake. Each slice offers a perfect balance of fruit-forward sweetness and rich, creamy dairy.
Ingredients
- Crust:
1 1/2 cups (180g) Vanilla wafer crumbs
6 tbsp (85g) Unsalted butter, melted
- Filling:
32 oz (900g) Cream cheese, softened
1 1/4 cups (250g) Granulated sugar
1 tsp (5ml) Vanilla extract
4 large eggs
2 large bananas, sliced
1 tsp (5ml) Lemon juice (for the bananas)
Directions
- Prepare: Preheat oven to 325°F (165°C). Wrap the outside of a 9-inch springform pan with heavy-duty foil.
- Crust: Mix wafer crumbs and melted butter. Press firmly into the bottom of the pan and bake for 8 minutes. Set aside to cool.
- Filling: Beat cream cheese and sugar until perfectly smooth. Add vanilla and eggs one by one on low speed, mixing just until incorporated.
- Layer: Pour half the batter into the crust. Arrange banana slices (tossed in lemon juice) over the top. Pour the remaining batter over the fruit.
- Bake: Place the pan in a large roasting pan. Fill the roasting pan with hot water halfway up the sides of the cheesecake pan. Bake for 60-70 minutes until the edges are set but the center still jiggles slightly.
- Cool: Turn off the oven, prop the door open, and let the cheesecake sit for 1 hour. Remove, cool completely, and refrigerate for at least 6 hours before serving.
Notes
- Prevent Oxidation: Always toss your banana slices in a splash of lemon juice before layering. It’s the secret to keeping the fruit looking fresh and bright inside the cheesecake.
- The Slow-Cool Ritual: Never rush the cooling process! Allowing the cheesecake to rest in the oven with the door propped open is the best way to prevent surface cracks. Patience here truly pays off.