The Only Brownies Recipe Homemade You’ll Ever Need45 mins
Why This Brownies Recipe Homemade is a Total Game-Changer
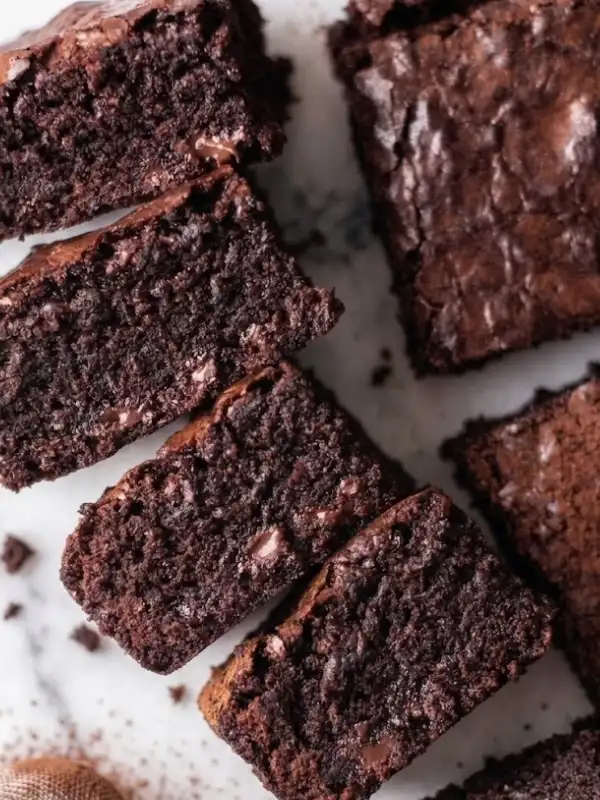
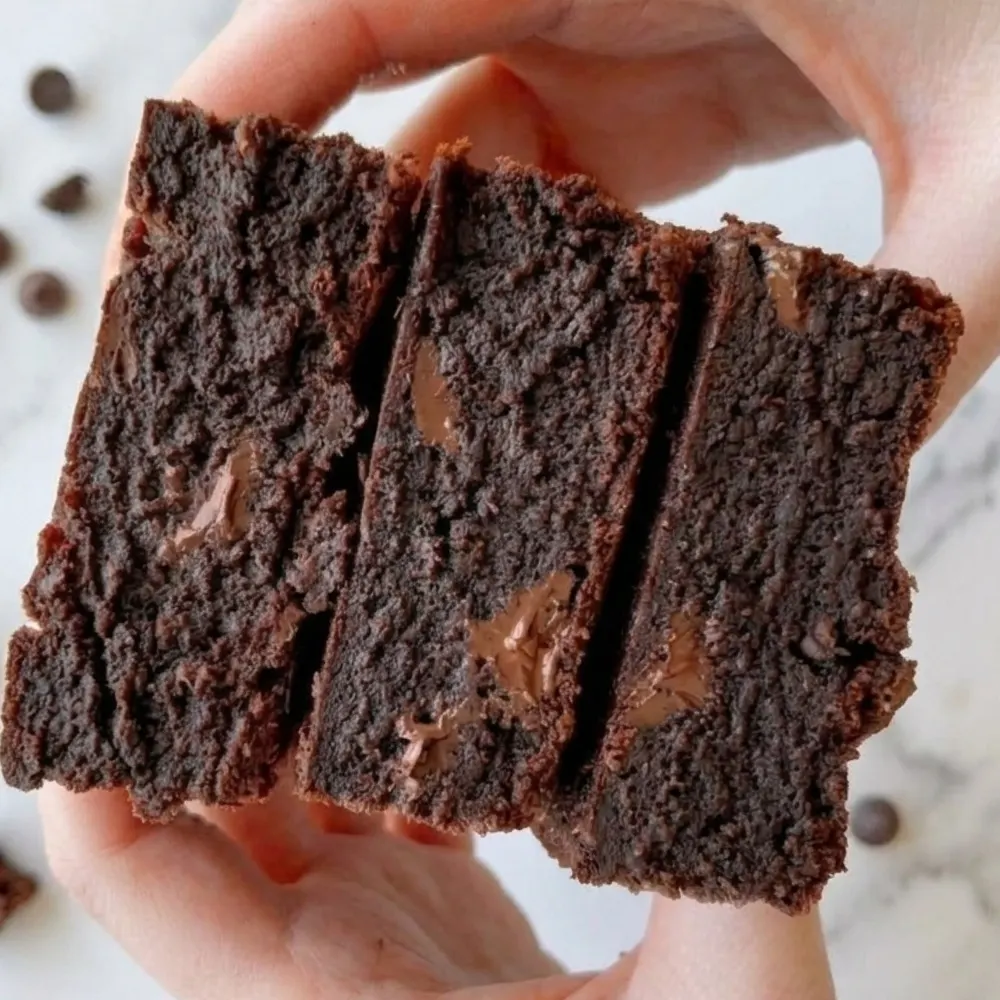
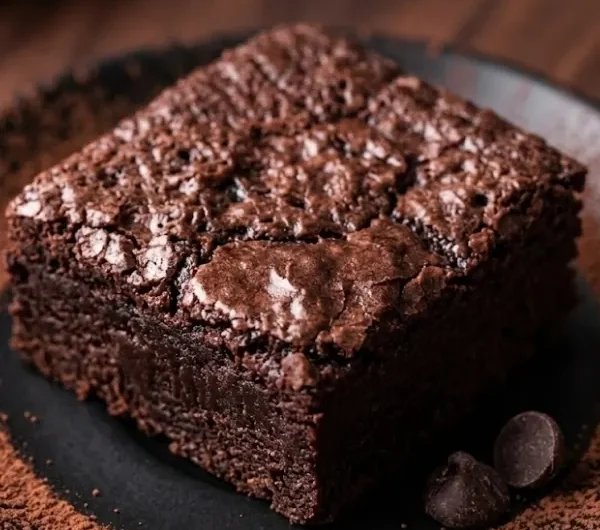
We have all experienced the deep disappointment of a brownie that turns out cakey, dry, and crumbly. It feels more like a piece of chocolate bread than a real dessert. Honestly, this brownies recipe homemade solves that exact problem by carefully adjusting the ratio of flour to melted fat. When I bake a batch of these for Emma and Lily on a weekend, the entire house smells exactly like a high-end bakery. Every single square is packed with a rich, velvety texture that practically melts on your tongue.
Think of your ingredients working together as a team. You have the intense, deep bitterness of high-quality cocoa powder perfectly balanced by the heavy sweetness of real cane sugar. It is ridiculously satisfying to bite into a thick corner piece that is slightly chewy on the outside but stays completely molten and fudgy on the inside.
The Mystery of the Crackly Top
The absolute biggest mistake people make when ditching the box mix is not beating their eggs and sugar long enough. You definitely want a batter whipped until it is pale, thick, and significantly doubled in volume. This crucial step traps tiny air pockets inside the dough, which eventually rise to the surface in the hot oven to create that delicate, paper-thin crust.
Ingredients You Need
- Butter: 1 cup/approx. 225g unsalted butter, melted. Using melted butter instead of cold butter keeps the structure incredibly dense and chewy rather than light and airy.
- Sugar: 2 cups/approx. 400g granulated white sugar. You need this exact amount to ensure the meringue-like top forms correctly, so do not reduce it!
- Eggs: 4 large eggs. Room temperature is crucial so they seamlessly emulsify with the warm melted butter.
- Cocoa: 1 cup/approx. 100g high-quality unsweetened cocoa powder. Always sift your cocoa to remove any hard, bitter lumps.
- Dry Ingredients: 1 cup/approx. 125g flour and 1/2 tsp salt. Notice we do not use baking powder here. Baking powder creates a cakey texture, and we are aiming for pure fudge.
- Mix-ins: 1 cup chocolate chips and 1 tbsp vanilla extract. The vanilla wakes up the chocolate flavor, and the chips add gooey pockets of melted goodness.
How to Make the Best Brownies Recipe Homemade
- Step 1Whisk the Eggs and SugarPreheat your oven to 350°F (175°C) and line your pan. In a large bowl, vigorously whisk your room-temperature eggs and sugar for three to five minutes until the mixture looks thick, pale, and frothy.
- Step 2Add Butter and VanillaSlowly pour in your warm melted butter and pure vanilla extract. Keep stirring gently but steadily until the entire base is glossy and the fats are completely absorbed.
- Step 3Fold in Dry IngredientsGrab a fine mesh sieve and gently fold in your cocoa powder, flour, and salt. Stop mixing the very second the white flour streaks disappear, then fold in your chocolate chips.
- Step 4Bake and CoolPour the thick batter into a lined 9×9 inch baking pan. Bake for 25 to 30 minutes until the edges pull away from the sides but the center still has a tiny, soft wobble.
Fun Variations and Proper Storage
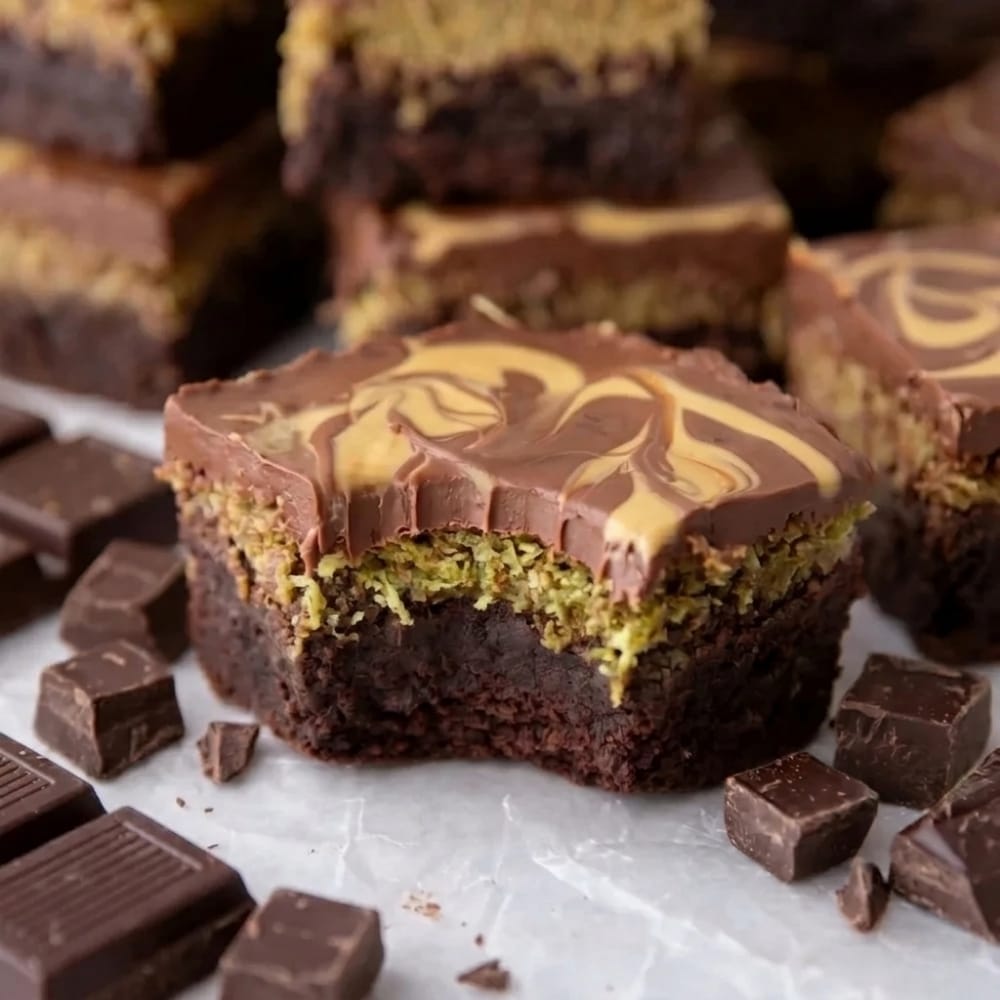
These squares are a fantastic blank canvas for extra fun toppings. Try swirling a few heavy tablespoons of peanut butter or Nutella into the raw batter right before baking to create a beautiful marbled effect and an extra layer of richness. You can also sprinkle coarse sea salt on top right after they come out of the oven to perfectly balance the sweetness.
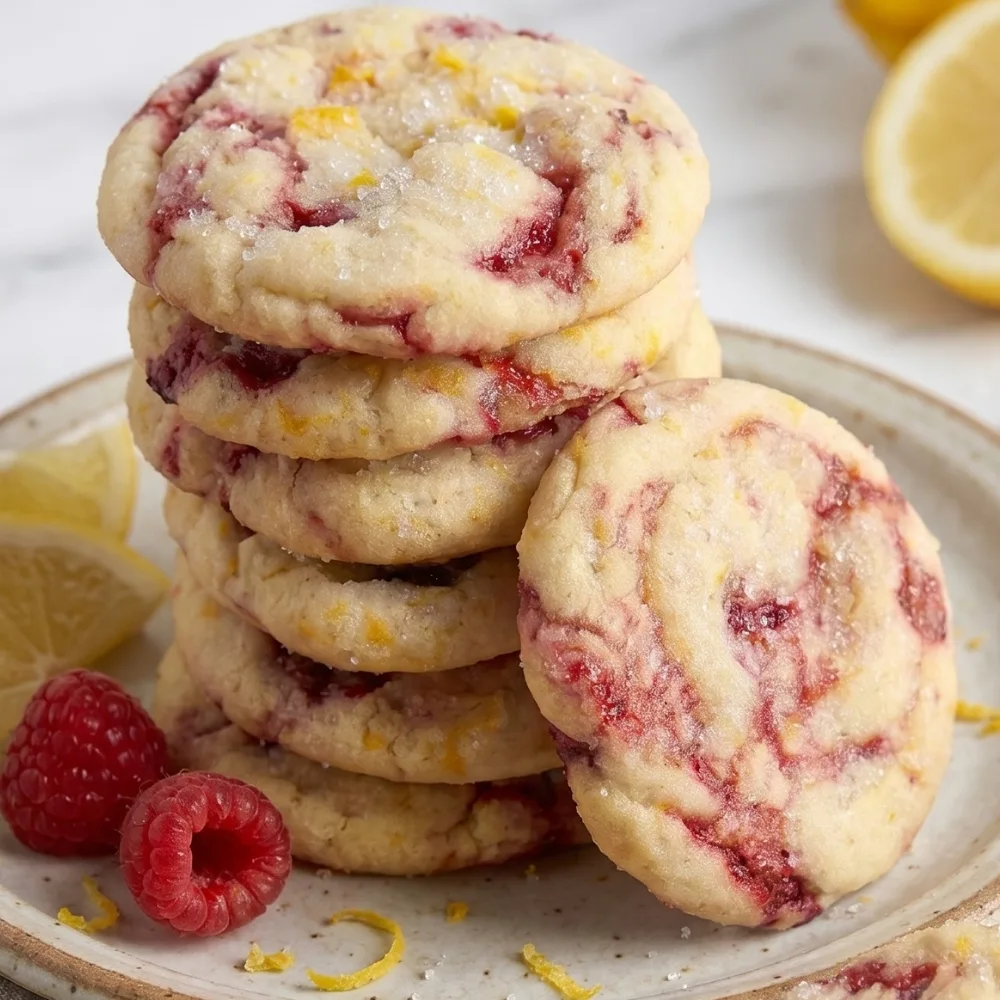
If you are putting together a dessert table and need more sweet inspirations, you will absolutely love my best ever chocolate chip cookies recipe, my best ever easy banana muffins recipe, or my best ever almond cherry cookies recipe. For a really unique party tray, do not forget to try my famous strawberry pretzel dessert recipe.
To store your baked goods, keep them in an airtight container at room temperature for up to four days. They honestly taste even more fudgy and delicious the day after you bake them!
Frequently Asked Questions
Classic Strawberry Pretzel Dessert
Course: DessertsCuisine: American16
servings15
minutes30
minutes45
minutesIf you want a truly fudgy brownies recipe homemade, this is the only one you will ever need! Learn how to make the ultimate from-scratch dessert with a shiny, crackly top and a rich, dense chocolate center using simple pantry ingredients.
Ingredients
1 cup/approx. 225g Unsalted butter, melted
2 cups/approx. 400g Granulated white sugar
4 large Eggs, room temperature
1 cup/approx. 100g Unsweetened cocoa powder
1 cup/approx. 125g All-purpose flour
½ tsp/approx. 3g Salt
1 tbsp/approx. 15ml Pure vanilla extract
1 cup/approx. 170g Semi-sweet chocolate chips
Directions
- Preheat your oven to 350°F (175°C) and line a 9×9 inch (23×23 cm) baking pan with parchment paper, leaving a little overhang on the sides for easy removal.
- In a large bowl, whisk the room-temperature eggs and granulated sugar vigorously for 3 to 5 minutes until the mixture is thick, pale, and completely frothy.
- Slowly pour the melted butter and vanilla extract into the egg mixture, stirring steadily until the batter becomes glossy and well combined.
- Gently sift in the unsweetened cocoa powder, all-purpose flour, and salt. Use a rubber spatula to fold the dry ingredients into the wet mixture, stopping just as the white flour streaks disappear.
- Gently fold in the semi-sweet chocolate chips until they are evenly distributed throughout the batter.
- Pour the thick batter into your prepared baking pan and spread it out evenly into the corners.
- Bake for 25 to 30 minutes. You want the edges to be set, but the center should still have a very slight wobble when you gently shake the pan.
- Allow the brownies to cool completely in the pan before slicing to ensure you get perfect, fudgy squares with clean edges.
Notes
- The “Clean Cut” Trick: Honestly, if you want those picture-perfect, sharp squares, let the brownies cool completely, then pop the pan in the fridge for about an hour. A warm, sharp knife will slice through the chilled chocolate beautifully!
Trust the Jiggle: Don’t be tempted to overbake them. Pull the pan out of the oven while the center still has a tiny wobble. They will continue to cook in the hot pan as they cool, ensuring that ultra-fudgy center.
Next-Day Magic: I actually think these taste even better the day after baking! Store them in an airtight container at room temperature for up to 4 days, or keep them in the fridge if you love a super dense, chewy texture.
Cocoa Quality: Since there is no melted baking chocolate in the base, try to use the best quality unsweetened cocoa powder you can get your hands on—it makes a huge difference in the final flavor.